The Roborock S7 is one of the most advanced vacuum and mop robots available today, combining powerful suction with an innovative mopping system. Whether you’re looking to automate your cleaning routine or simply want a more efficient way to keep your home spotless, the Roborock S7 promises to deliver a top-tier cleaning experience. However, to truly make the most of your Roborock S7, it’s important to set it up correctly and understand all its features.
In this comprehensive guide, we’ll walk you through the setup process, explore its features, and share tips on how to maximize your Roborock S7 for effortless and effective cleaning.
What is the Roborock S7?
The Roborock S7 is an all-in-one robot vacuum cleaner that can vacuum, mop, and sweep your floors with minimal input from you. What sets it apart from many other robots is its advanced sonic mopping technology, which vibrates the mop at high frequency (up to 3,000 times per minute) to scrub away dirt and stains that would normally require manual cleaning. It also features intelligent navigation, powerful suction, and a long-lasting battery life, making it an excellent choice for larger homes or multi-level dwellings.
Key features of the Roborock S7:
- Powerful suction: 2500Pa suction power for deep cleaning.
- Sonic mopping: VibraRise technology for efficient wet mopping.
- Multi-floor mapping: Ability to store maps of multiple floors for easier cleaning management.
- Smart control: Integration with the Roborock app, Alexa, and Google Assistant for easy operation.
- Auto-lifting mop: Automatically lifts the mop when carpets are detected.
- Large dustbin: Holds more debris to reduce the need for frequent emptying.
Step 1: Unboxing Your Roborock S7
Once you’ve received your Roborock S7, it’s time to unbox and assemble it. The box includes the following items:
- Roborock S7 unit – The robot itself, which includes the vacuum and mopping components.
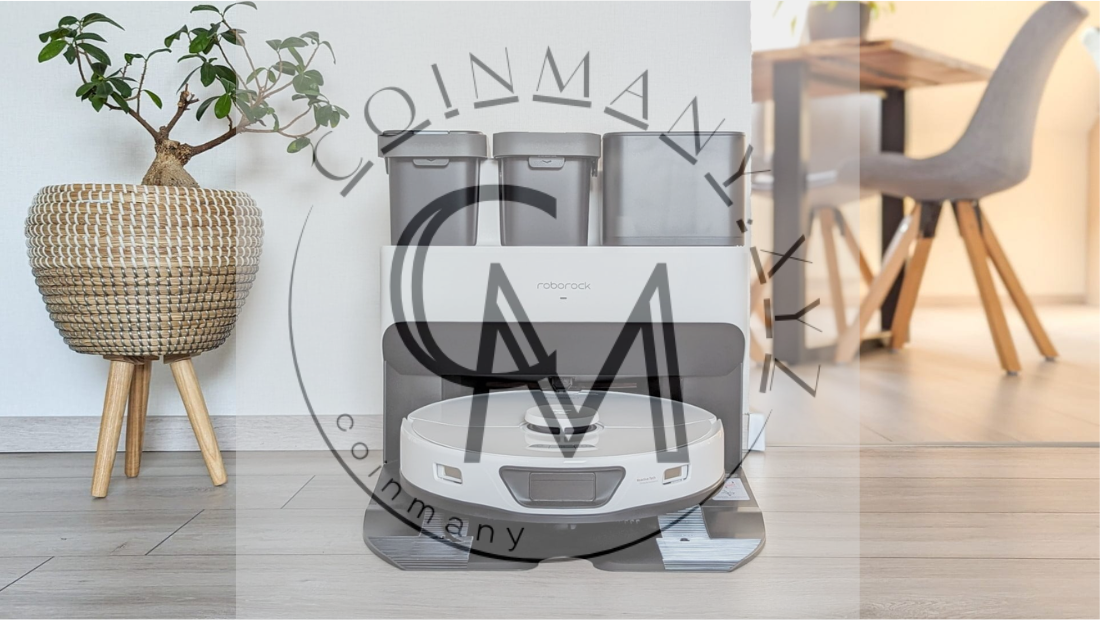
- Charging dock – The charging station where the robot returns to recharge.
- Power adapter – To plug into the charging dock.
- Water tank and mop cloth – For the mopping function.
- User manual – For reference if you need more information.
Check to make sure all the parts are included and undamaged. Once confirmed, move on to the next steps.
Step 2: Placing the Charging Dock
Before setting up the Roborock S7, you need to place the charging dock in a suitable location. Follow these tips for optimal placement:
- Flat Surface: Place the charging dock on a flat surface against a wall. This ensures the robot can easily return to the dock after completing its cleaning cycle.
- Clear Space: Make sure there’s at least 1.5 meters (5 feet) of space in front of the dock and 0.5 meters (1.5 feet) on either side. This ensures the robot can easily navigate to the dock without obstacles.
- Near Power Outlet: Ensure the charging dock is close to a power outlet, as you’ll need to plug in the power adapter.
Once positioned correctly, plug in the power adapter to the dock and wait for the indicator light to confirm it’s powered on.
Step 3: Charging the Roborock S7
After placing the charging dock, it’s time to charge the Roborock S7.
- Place the Robot on the Dock: Position the Roborock S7 on the charging dock. The robot will automatically start charging once it makes contact with the charging pins.
- Charge Fully: Before using the robot, allow it to charge fully (this usually takes about 4-5 hours). You’ll know it’s fully charged when the indicator light on the robot turns green.
Step 4: Download the Roborock App
To make the most of the Roborock S7, it’s highly recommended to use the Roborock app. The app allows you to control your robot, schedule cleanings, monitor its progress, and customize its settings. Here’s how to get started:
- Download the App: The Roborock app is available on both the Apple App Store and Google Play Store. Search for “Roborock” and download it.
- Create an Account: Open the app and create a new account or log in if you already have one.
- Connect the Roborock S7 to Wi-Fi: Follow the on-screen instructions in the app to connect your Roborock S7 to your home’s Wi-Fi network. Make sure your robot is powered on and close to your router for a stable connection.
Step 5: Setting Up Your First Clean
Once your Roborock S7 is connected to the app and fully charged, you’re ready to set up your first cleaning session. Follow these steps:
- Start the Cleaning: Press the “Clean” button on the app or on the robot itself to begin the cleaning session. The S7 will start by scanning your home and mapping the area using its advanced LiDAR system.
- Let the Robot Map Your Home: The first time you use the robot, it will take a little longer to map your home (about 20-30 minutes), but subsequent cleaning sessions will be faster as the robot uses the saved map.
- Monitor the Progress: You can monitor the robot’s progress in real time through the Roborock app. It will show you where the robot has cleaned and how much area is left.
Step 6: Using the Mopping Function
One of the standout features of the Roborock S7 is its mopping function. Here’s how to set up and use the mop feature effectively:
- Attach the Mop Cloth: The S7 comes with a washable mop cloth that attaches to the bottom of the robot. Simply clip the mop into place and make sure it’s secure.
- Fill the Water Tank: The robot includes a separate water tank that needs to be filled with clean water. You can also add a small amount of floor cleaner if you prefer. Make sure the tank is properly seated before use.
- Select Mopping Mode: In the app, you can adjust the mopping mode. There are different levels of mopping intensity depending on your floor type and how dirty the area is. For most surfaces, the default setting will work fine.
- Activate the Mop: Once everything is set up, the robot will automatically use its mop function as it vacuums, or you can choose to activate mopping only. The robot uses VibraRise technology to vibrate the mop at 3,000 vibrations per minute, helping to scrub stubborn dirt.
Step 7: Customizing Cleaning Preferences
The Roborock S7 offers a variety of customizable settings to ensure it fits your cleaning needs perfectly. Here are a few key options you can set up:
- No-Go Zones: Using the app, you can create virtual barriers and no-go zones that the robot will avoid. This is useful if you have areas like pet food bowls or delicate furniture that you don’t want the robot to go near.
- Cleaning Schedules: You can schedule your Roborock S7 to clean at specific times, so your home stays clean without you having to think about it. For example, set it to clean while you’re at work or while you’re sleeping.
- Multiple Floor Maps: If you have a multi-story home, the Roborock S7 can store maps for each floor. You can easily switch between them in the app for targeted cleaning.
Step 8: Maintaining Your Roborock S7
To ensure your Roborock S7 continues to function at its best, it’s important to perform regular maintenance:
- Empty the Dustbin: The dustbin should be emptied after every cleaning session. It’s easy to remove and clean.
- Clean the Mop Cloth: After each mopping session, rinse the mop cloth under water and allow it to air dry. If the cloth becomes particularly dirty, wash it in the machine according to the instructions.
- Check the Sensors and Brushes: Periodically check the robot’s sensors and brushes for any dirt or debris that could affect its performance. Clean these parts gently with a soft cloth.
- Clean the Water Tank: Rinse out the water tank after each mopping session to prevent mold or bacteria growth.
Conclusion
The Roborock S7 is a game-changer when it comes to home cleaning. By following the simple setup steps in this guide, you can unlock all the features that make this vacuum and mop combo an essential tool for effortless cleaning. With powerful suction, effective mopping, and intelligent navigation, the Roborock S7 ensures your floors are always spotless with minimal effort on your part. Whether you want to schedule regular cleaning sessions, control it remotely via the app, or take advantage of its advanced mopping features, the Roborock S7 is sure to make your cleaning routine more efficient and less time-consuming.
Now that you’re set up, sit back, relax, and let the Roborock S7 do the hard work for you!
