The iRobot Roomba i7 is a powerful, smart robot vacuum designed to make cleaning your home easier and more efficient. Equipped with advanced features like smart mapping, imprint smart mapping technology, and automatic dirt disposal, the iRobot Roomba i7 promises a thorough and customizable cleaning experience. Setting up the iRobot Roomba i7 is simple, and once configured, it will handle your cleaning chores while you relax.
In this guide, we’ll walk you through everything you need to know to set up your Roomba i7. Whether you’re unboxing it for the first time or trying to troubleshoot an existing setup, you’ll find all the information you need here to get started.
What’s Included in the Box
Before diving into the setup, here’s a quick look at the contents of your iRobot Roomba i7 box:
- iRobot Roomba i7 robot vacuum
- Home Base charging station
- Power cord for the Home Base
- Filter (usually pre-installed)
- Quick Start Guide (a handy reference for setup)
- Additional accessories (such as spare filters or brushes, depending on the bundle)
Ensure you have all of these components before beginning the setup.
Step-by-Step Guide to Setting Up Your iRobot Roomba i7
Step 1: Place the Home Base in a Suitable Location
The Home Base is where your Roomba i7 will return to recharge when it’s finished cleaning or when its battery is running low. Finding the right spot for it is important for the robot’s efficiency and ease of navigation.
Here’s how to position the Home Base:
- Clear Space: Place the Home Base against a wall, with at least 1 foot (30 cm) of clearance on either side and 2 feet (60 cm) in front. This gives the robot ample space to dock and undock.
- Flat, Level Surface: Ensure the base is on a flat, level surface so the Roomba can easily detect and align with the dock.
- Avoid Obstacles: Don’t place the Home Base in narrow spaces or corners where the robot could get stuck. Try to avoid areas with heavy traffic, as this could disrupt the docking process.
Once the base is in position, plug the power cord into the charging station and then into a power outlet.
Step 2: Charge Your iRobot Roomba i7
Before using your Roomba, you should fully charge it to ensure it has enough power to get through its first cleaning cycle. The robot will automatically begin charging once it docks with the Home Base.
- Charging Indicator: The charging light on the robot will turn amber when charging and green when fully charged. A full charge usually takes about 2 hours.
If your Roomba i7 is not charging or the light remains amber for a long period, make sure the Home Base is connected properly and the outlet is working.
Step 3: Download the iRobot HOME App
To get the most out of your Roomba i7, you’ll need to download the iRobot HOME App on your smartphone or tablet. The app allows you to control and schedule your Roomba remotely, and it’s compatible with both iOS and Android devices.
Here’s how to download the iRobot HOME App:
- For iPhone (iOS): Open the App Store, search for iRobot HOME, and click Download.
- For Android: Open the Google Play Store, search for iRobot HOME, and click Install.
Once installed, open the app and create an iRobot account if you don’t already have one.
Step 4: Connect Your iRobot Roomba i7 to the App
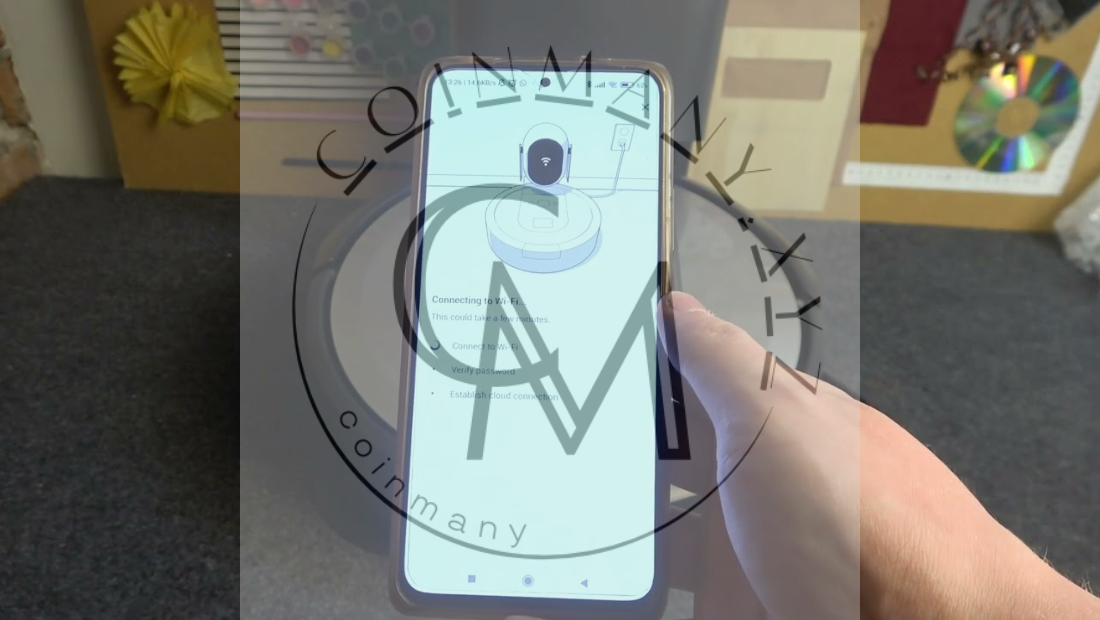
After downloading the app and creating an account, you’re ready to connect your iRobot Roomba i7 to your home’s Wi-Fi network.
Here’s how to connect:
- Power On the Roomba: Press the Clean button on your Roomba i7 to power it on.
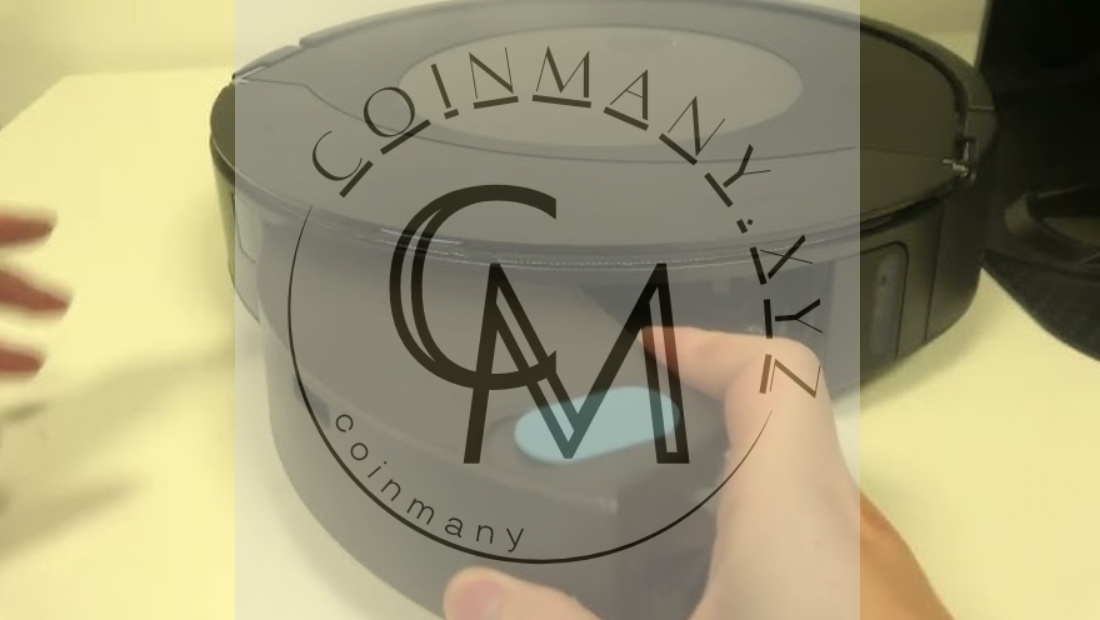
- Put the Roomba in Pairing Mode: To start the pairing process, press and hold the Home button and the Spot Clean button simultaneously until the Wi-Fi indicator light flashes blue. This means your Roomba is now in pairing mode and ready to connect.
- Open the App: In the iRobot HOME app, tap “Add Robot” or “Set Up New Roomba”. Follow the on-screen instructions to connect your Roomba to Wi-Fi.
- Connect to Wi-Fi: The app will prompt you to select your Wi-Fi network and enter the Wi-Fi password. Ensure that your Wi-Fi is a 2.4GHz network, as the Roomba i7 does not support 5GHz networks.
- Complete Setup: Once connected, the app will confirm that the Roomba is linked to your account. You can now control your Roomba remotely from the app.
Step 5: Customize Your Roomba Settings
Now that your Roomba i7 is connected to the app, it’s time to set up your personalized cleaning preferences.
Here’s what you can customize:
- Cleaning Schedule: Set a cleaning schedule to have the Roomba clean at specific times. For example, you can set it to clean every day at 10 a.m. when you’re at work.
- Cleaning Mode: Choose between different cleaning modes such as Default, Max Clean, or Spot Clean, depending on how thorough you want the cleaning to be.
- Voice Control: If you have a voice assistant like Amazon Alexa or Google Assistant, you can link your Roomba i7 to it for voice commands like “Alexa, ask Roomba to start cleaning.”
Step 6: Let Your Roomba i7 Clean Your Home
Once everything is set up, you’re ready to let your Roomba get to work. To start cleaning, simply press the Clean button on your robot, or use the app to start a cleaning session remotely. If you’ve set up a cleaning schedule, Roomba will automatically start cleaning at the designated time.
Smart Mapping and Learning The Roomba i7 uses iAdapt 3.0 technology with vSLAM navigation to map your home as it cleans. Over time, it will learn the layout of your home, and you’ll have the option to name rooms in the app. This allows you to set up specific cleaning zones or no-go areas in future cleaning sessions.
Step 7: Monitor Cleaning Progress and Perform Routine Maintenance
- Cleaning Progress: Use the iRobot HOME app to monitor your Roomba’s cleaning progress in real time. You’ll see a map of the areas that have been cleaned, and you can pause or stop the cleaning session at any time.
- Maintenance: To keep your Roomba i7 in top working condition, perform regular maintenance, such as emptying the dustbin, cleaning the brushes, and replacing the filter when necessary.
Troubleshooting Tips
If you encounter any issues during setup, here are a few troubleshooting steps:
- Wi-Fi Connection Issues: Ensure your Wi-Fi is on a 2.4GHz network. Restart both the Roomba and your router, then try reconnecting.
- Roomba Not Charging: Check that the charging contacts on both the robot and the Home Base are clean. If charging issues persist, try using a different outlet.
- Roomba Stuck or Not Cleaning: Ensure there are no obstacles blocking the Roomba’s path. Check for tangled hair or debris in the wheels and brushes.
Conclusion
Setting up your iRobot Roomba i7 is a straightforward process, and with the app, you can enjoy the convenience of remotely controlling your robot vacuum. From creating cleaning schedules to controlling your Roomba via voice commands, this smart vacuum makes maintaining a clean home easier than ever. Follow this guide, and you’ll be up and running in no time, enjoying the full benefits of your new iRobot Roomba i7.
Happy cleaning!
